Instalacja MariaDB
apt-get install mariadb-servernastępnie edytujemy
/etc/mysql/mariadb.conf.d/50-server.cnfw linii 105,106: podmieniamy na
character-set-server = utf8
#collation-server = utf8mb4_general_ci
następnie restart
systemctl restart mysqlKonfiguracja MariaDB
mysql_secure_installation

/usr/bin/mysql_secure_installation: line 379: find_mysql_client: command not found

NOTE: RUNNING ALL PARTS OF THIS SCRIPT IS RECOMMENDED FOR ALL MariaDB
      SERVERS IN PRODUCTION USE!  PLEASE READ EACH STEP CAREFULLY!

In order to log into MariaDB to secure it, we'll need the current
password for the root user.  If you've just installed MariaDB, and
you haven't set the root password yet, the password will be blank,
so you should just press enter here.

Enter current password for root (enter for none):
OK, successfully used password, moving on...

Setting the root password ensures that nobody can log into the MariaDB
root user without the proper authorisation.

# ustawienie hasła root'a do bazy
Set root password? [Y/n] y
New password:
Re-enter new password:
Password updated successfully!
Reloading privilege tables..
 ... Success!

By default, a MariaDB installation has an anonymous user, allowing anyone
to log into MariaDB without having to have a user account created for
them.  This is intended only for testing, and to make the installation
go a bit smoother.  You should remove them before moving into a
production environment.
# usuń anonimowych
Remove anonymous users? [Y/n] y
 ... Success!

Normally, root should only be allowed to connect from 'localhost'.  This
ensures that someone cannot guess at the root password from the network.

# uniemożliwienie zdalnego logowania root'a
Disallow root login remotely? [Y/n] y
 ... Success!

By default, MariaDB comes with a database named 'test' that anyone can
access.  This is also intended only for testing, and should be removed
before moving into a production environment.

# usuń bazę testową
Remove test database and access to it? [Y/n] y
 - Dropping test database...
 ... Success!
 - Removing privileges on test database...
 ... Success!

Reloading the privilege tables will ensure that all changes made so far
will take effect immediately.

# załadowanie tabeli uprawnień
Reload privilege tables now? [Y/n] y
 ... Success!

Cleaning up...

All done!  If you've completed all of the above steps, your MariaDB
installation should now be secure.

Thanks for using MariaDB!
Zalogowanie się do MariaDB za pomocą konta root
mysql -u root -p
Enter password:     # hasło root'a
Welcome to the MariaDB monitor.  Commands end with ; or \g.
Your MariaDB connection id is 50
Server version: 10.0.24-MariaDB-7 Ubuntu 16.04

Copyright (c) 2000, 2016, Oracle, MariaDB Corporation Ab and others.

Type 'help;' or '\h' for help. Type '\c' to clear the current input statement.

# pokaż listę użytkowników
MariaDB [(none)]> select user,host,password from mysql.user;
+------+-----------+-------------------------------------------+
| user | host      | password                                  |
+------+-----------+-------------------------------------------+
| root | localhost | xxxxxxxxxxxxxxxxxxxxxxxxxxxxxxxxxxxxxxxxx |
+------+-----------+-------------------------------------------+
1 row in set (0.00 sec)

# pokaż listę baz danych
MariaDB [(none)]> show databases;
+--------------------+
| Database           |
+--------------------+
| information_schema |
| mysql              |
| performance_schema |
+--------------------+
3 rows in set (0.00 sec)

MariaDB [(none)]> exit
Bye
Instalowanie phpMyAdmin do współpracy z MariaDB w przeglądarce internetowej
apt-get install phpmyadmin php-mbstring php-gettextwybrać, który z nich stosować (w tym przykładzie jest apache2)
 +------------------------+ Configuring phpmyadmin +-------------------------+
 | Please choose the web server that should be automatically configured to   |
 | run phpMyAdmin.                                                           |
 |                                                                           |
 | Web server to reconfigure automatically:                                  |
 |                                                                           |
 |    [*] apache2                                                            |
 |    [ ] lighttpd                                                           |
 |                                                                           |
 |                                                                           |
 |                                                                       |
 |                                                                           |
 +---------------------------------------------------------------------------+
odpowiedzieć "Nie", aby przejść dalej
+------------------------+ Configuring phpmyadmin +-------------------------+
 |                                                                           |
 | The phpmyadmin package must have a database installed and configured      |
 | before it can be used.  This can be optionally handled with               |
 | dbconfig-common.                                                          |
 |                                                                           |
 | If you are an advanced database administrator and know that you want to   |
 | perform this configuration manually, or if your database has already      |
 | been installed and configured, you should refuse this option.  Details    |
 | on what needs to be done should most likely be provided in                |
 | /usr/share/doc/phpmyadmin.                                                |
 |                                                                           |
 | Otherwise, you should probably choose this option.                        |
 |                                                                           |
 | Configure database for phpmyadmin with dbconfig-common?                   |
 |                                                                           |
 |                                                                  |
 |                                                                           |
 +---------------------------------------------------------------------------+
zmienić niektóre ustawienia w celu umożliwienia logowania do phpMyAdmin z root'a
mysql -u root -p mysql
Enter password:
Reading table information for completion of table and column names
You can turn off this feature to get a quicker startup with -A

Welcome to the MariaDB monitor.  Commands end with ; or \g.
Your MariaDB connection id is 50
Server version: 10.0.24-MariaDB-7 Ubuntu 16.04

Copyright (c) 2000, 2016, Oracle, MariaDB Corporation Ab and others.

Type 'help;' or '\h' for help. Type '\c' to clear the current input statement.

MariaDB [mysql]> update user set plugin='' where user='root';
Query OK, 1 row affected (0.00 sec)
Rows matched: 1  Changed: 1  Warnings: 0

MariaDB [mysql]> flush privileges;
Query OK, 0 rows affected (0.00 sec)

MariaDB [mysql]> exit
Bye
Jak zainstalować apache2 i php jest pokazane tutaj:
https://lvlup.rok.ovh/t/www-instalacja-apache-php-i-mysql-na-vps-dedyku/582
Restartujemy apache2
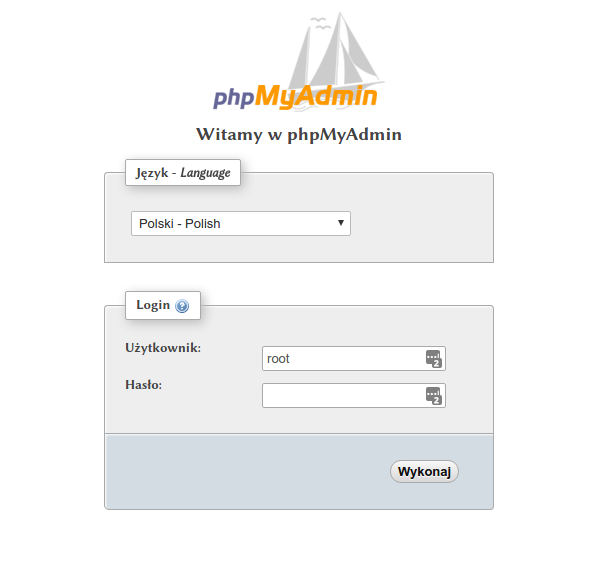
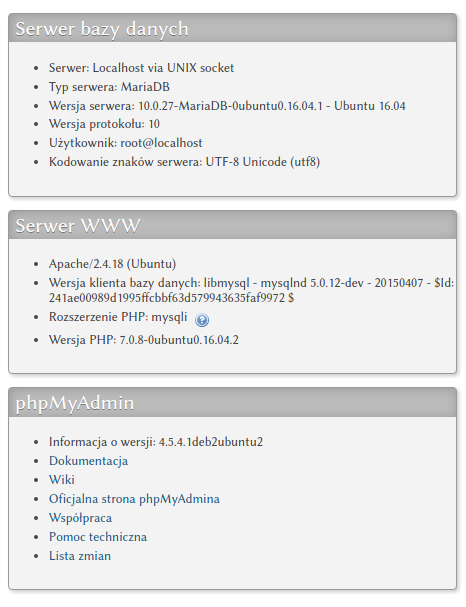
systemctl restart apache2 A tak to wygląda:


Może się komuś przyda ;-)
Pozdrawiam
